


Mastering push timing in Arc Raiders is a distinct progression path that separates aggressive players from effective ones. Rather than relying on pure twitch reflexes, a successful push is built on a series of tactical confirmations. For players aiming to break stalemates, secure kills, and minimize deaths during offensive maneuvers, following a consistent push checklist forms a reliable and repeatable framework for victory in the Exclusion Zone.
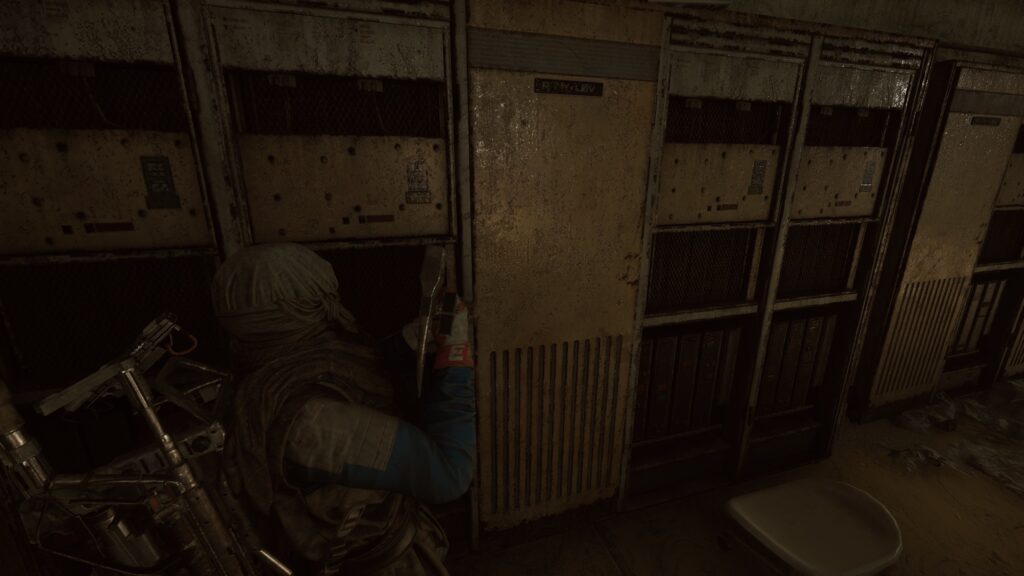
This guide examines how to approach offensive pushes efficiently, focusing on identifying mechanical advantages, confirming enemy status, and executing the move with maximum pressure and minimum risk.
The Anatomy of a High-Probability Push
An offensive push in Arc Raiders should never be a gamble. It is a calculated response to a specific weakness in the enemy’s defense. Moving from cover into an enemy’s line of sight is the most vulnerable moment for any raider. Therefore, a push must only occur when the reward significantly outweighs the risk. This is a deterministic skill that rewards patience and the ability to read combat indicators in real time.

The structure of an effective push encourages efficiency through rapid verification. Mastery is achieved by ensuring you only engage in fights you have already won on paper, turning aggressive play into a controlled and predictable outcome.
The Pre-Push Checklist: Four Vital Questions
Before leaving your cover to swing a corner or breach a room, you must mentally verify these four conditions. If any are missing, the risk of deletion increases exponentially.
- Have I Inflicted Meaningful Damage? Never push a full-health enemy. Confirm you have broken their armor or forced them to retreat for healing. A damaged enemy is a distracted and vulnerable enemy.
- Is the Enemy Reloading or Suppressed? Listen for the distinct sound of a weapon reload or use suppressive fire from a teammate to keep the enemy’s head down. A push is safest when the opponent cannot immediately return fire.
- Do I Have a Utility Advantage? Using a stun grenade, smoke, or a tactical ability before moving creates a window of opportunity. Pushing into an enemy who is blinded or disoriented significantly reduces their ability to track your movement.
- Is My Own Health and Ammo Ready? Ensure your own armor is full and your magazine is topped off. Entering a push only to hear a click or die to a single stray shot is a failure of preparation.
- Purpose: To create a mental gate that prevents impulsive, low-probability plays and ensures every aggressive move is backed by a tactical advantage.
Execution: Speed, Commitment, and Angle Management
Once the checklist is complete, the push must be executed with total commitment. Hesitation in the middle of a push is often fatal.
- Commit to the Move: Once you decide to swing, do it with speed. Use sliding or rolls to shift your head height and make yourself a harder target.
- Tight vs. Wide Swings: Use a tight swing if you know the exact location of the enemy. Use a wider swing to clear corners where an enemy might be waiting in an off-angle.
- Slice the Pie: Clear the room or corner in segments rather than rushing the center. This limits the number of angles you are exposed to at any given micro-second.
- Purpose: To maximize the impact of your offensive movement while maintaining enough control to win the resulting gunfight.
Conclusion: Aggression Through Calculation
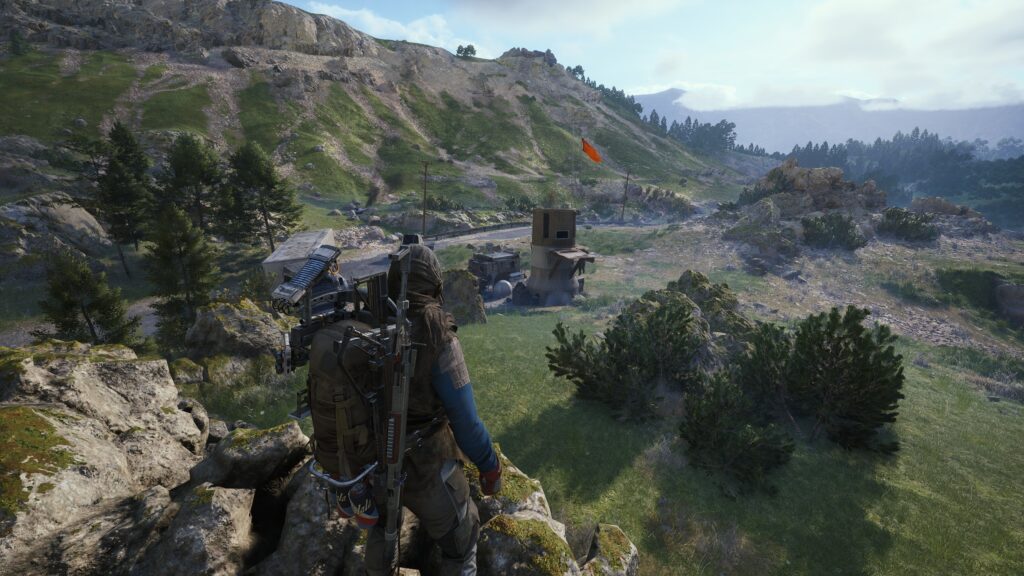
Mastering push timing rewards consistency and disciplined decision-making. By using a checklist to verify your advantages before committing to a move, you transform aggression from a risky habit into a reliable tool for dominance.
When integrated into your routine, calculated pushing ensures you are always the one dictating the pace of the fight, allowing you to secure more kills and extract with more loot by only taking the fights you are prepared to win.
Leave a Reply